


Tempering & Molding | bean-to-bar chocolate
After you have made your chocolate (visit my post Making Chocolate Bean to Bar), you have several options on how to temper your chocolate. You should know that the higher the cocoa butter content, the easier it is to temper. I am using a 70% chocolate here, 700g of cacao nibs, 300g of sugar. No added cocoa butter. I have found that the same cacao, roasted at higher heat, 140c for 45minutes, is less viscous and thus easier to work with.
Other factors that increase viscosity are the type of sugar you use, some sugars have high moisture, like coconut sugar or brown sugar. The room where you make the chocolate must have low humidity, below 50%; otherwise this moisture can get into the chocolate – making it more viscous. And finally, the temperature of the chocolate determines how thin or thick it is.
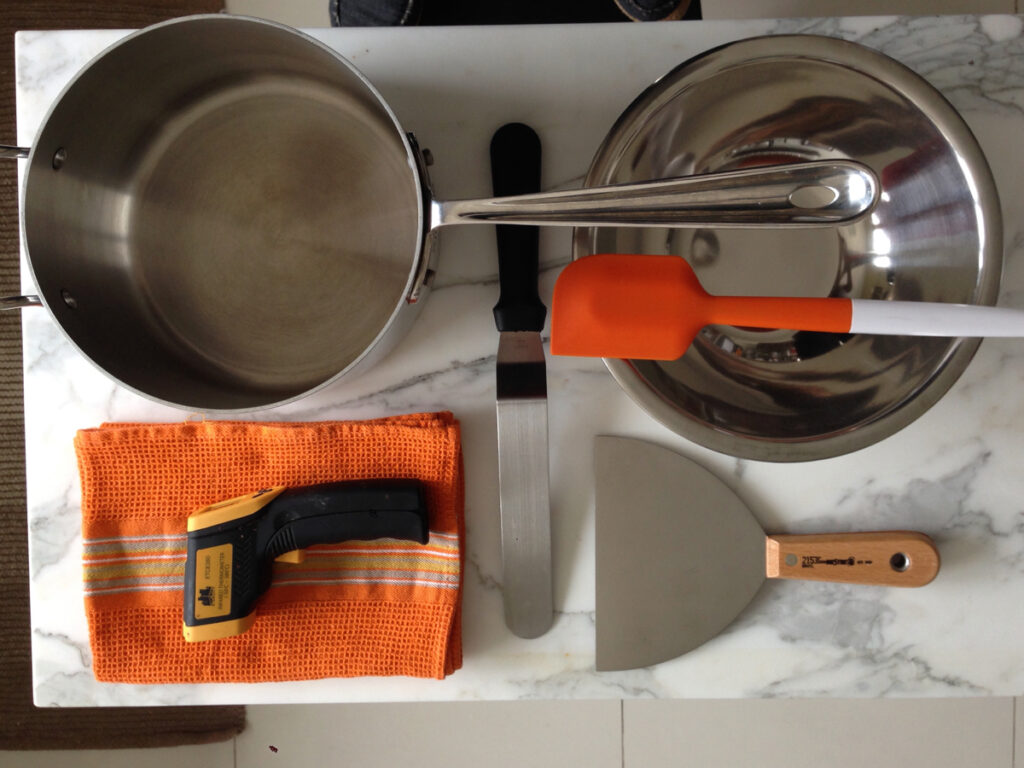
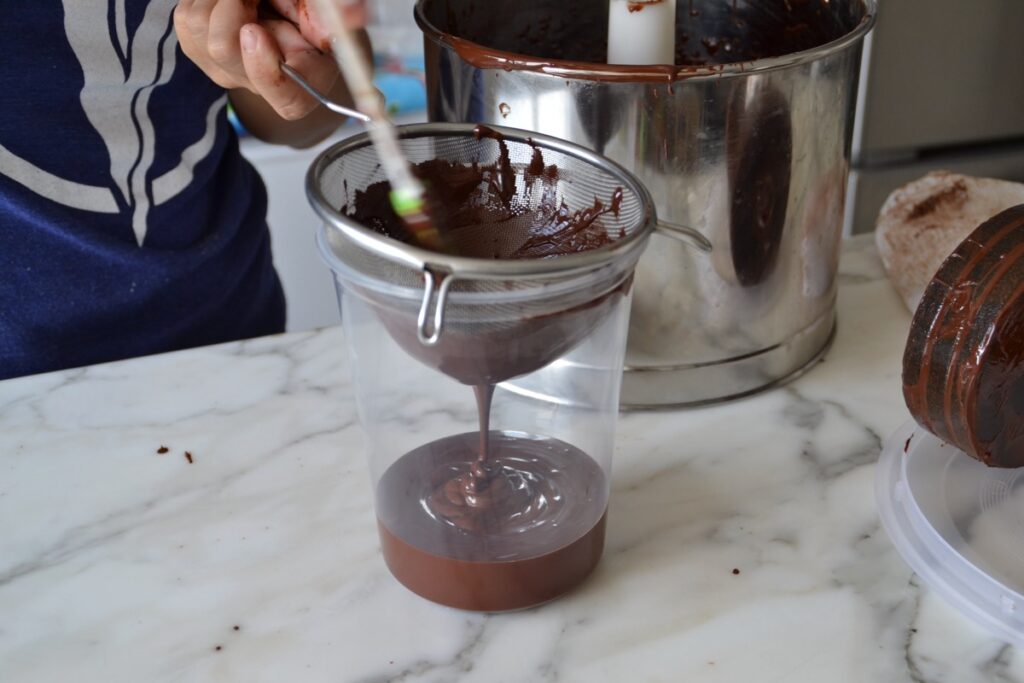
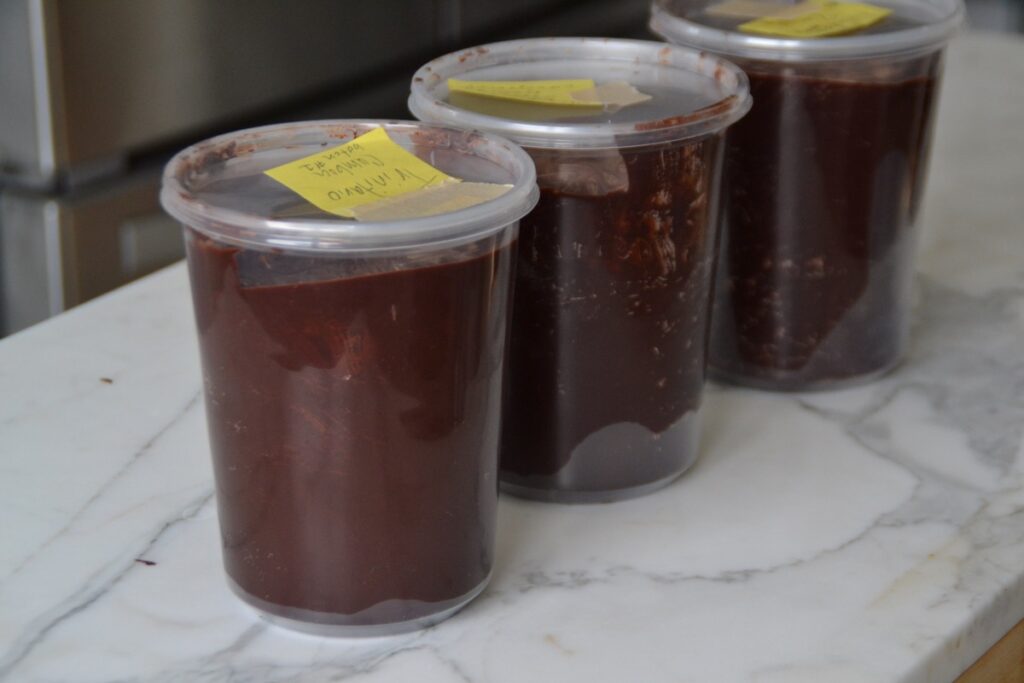
At first, I had a lot of trouble tempering bean to bar chocolate because it is different than other chocolates and can be much thicker than couverture. I had learned to temper with previously tempered chocolate, like buying chocolate chips, and it was quite easy. The bean to bar chocolate that I make has never been tempered. None of the correct cocoa butter crystals exist here. I realized that if I temper twice, I get a better temper. I now remove the chocolate from the grinder, through a sieve and directly onto the marble top. I move it around until it becomes solid then I store it in the fridge, sealed, for about an hour and then in my cool room. This chocolate will be much easier to temper when I am ready to use it.
How to temper bean to bar chocolate:
- Your room temp has to be cool to cold, ideally 20-21c (68f) and low humidity ( less than 50%)
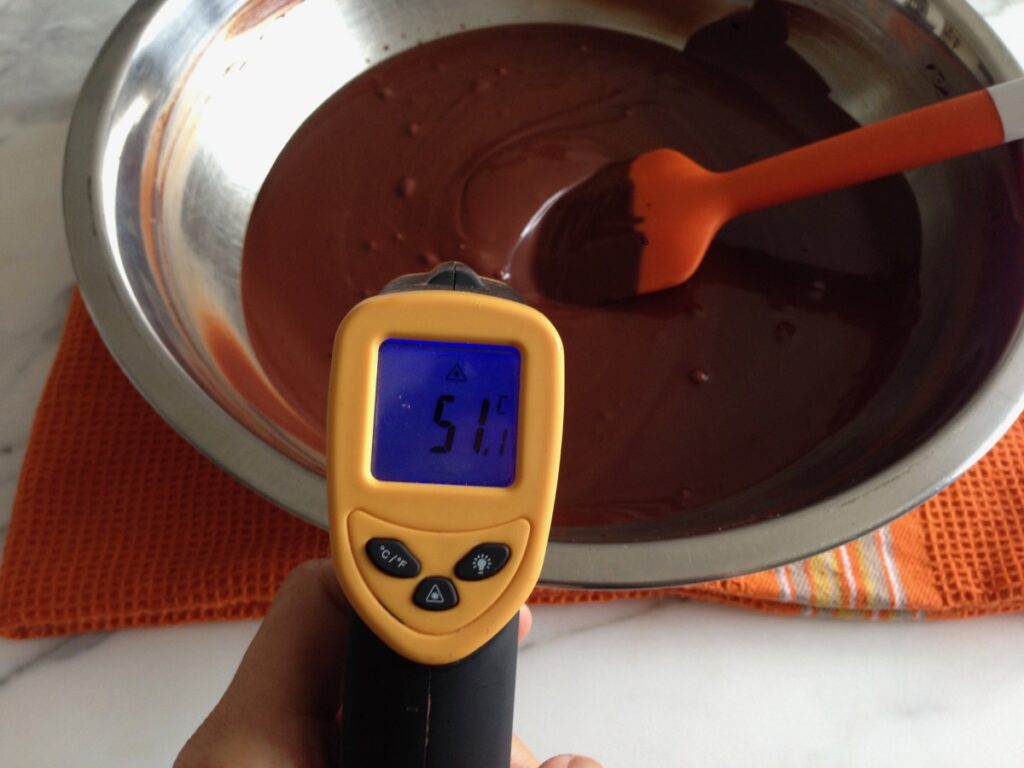
- Melt to 46c (115f) (never needs to go higher than this)
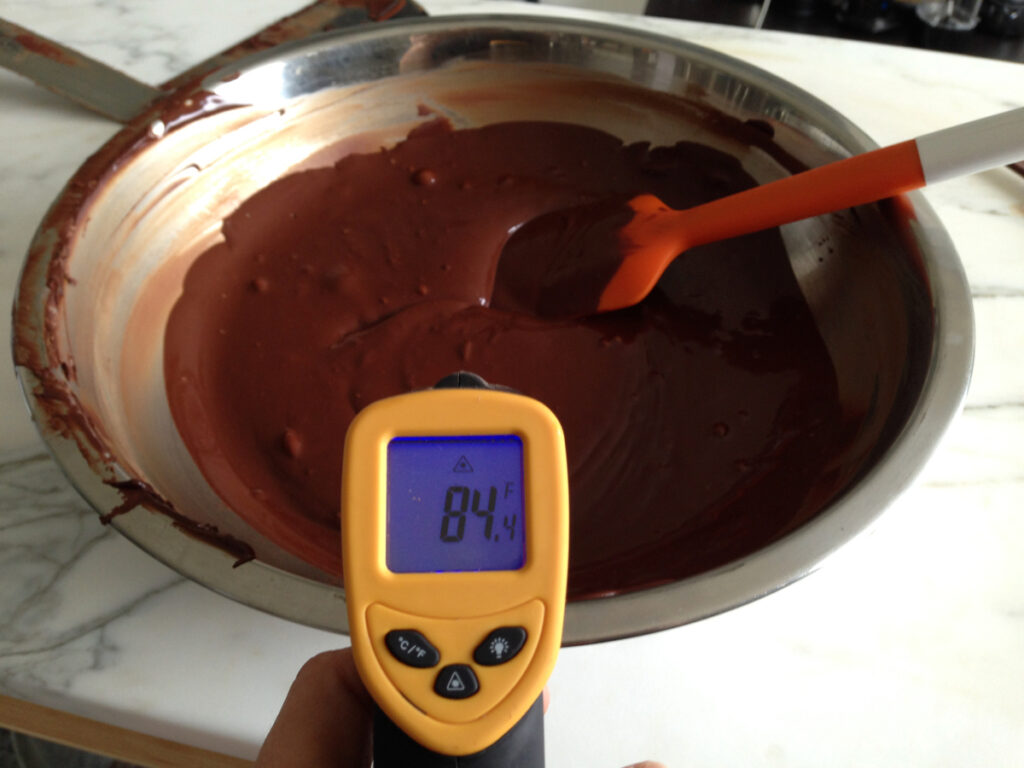
- Cool to 27-29c (83-84f) (if you have “silk” or “eztemper” you can lower to 93f and add your cocoa butter. More on “silk” here)
- Heat to 30/32c (86/90f)
- Test your temper
- Mold
- Refrigerate
- Unmold
- Keep in a cool area
If the chocolate is at 50c (120f), you can remove directly from the grinding machine and pour through a sieve into a bowl.
If you had previously removed the chocolate from the grinding machine and the chocolate is now solid; place in bowl and melt it to 46c (115f). Always stirring.
You can melt this in the microwave, but you risk burning it. I place it in the microwave and melt 30 seconds at a time. After every 30 seconds I remove it and mix. If you do not mix it, you will burn it. Microwaves tend to shoot all their energy into one spot. Mixing ensures that the melted parts move to another location. I do this until it reaches 45c.
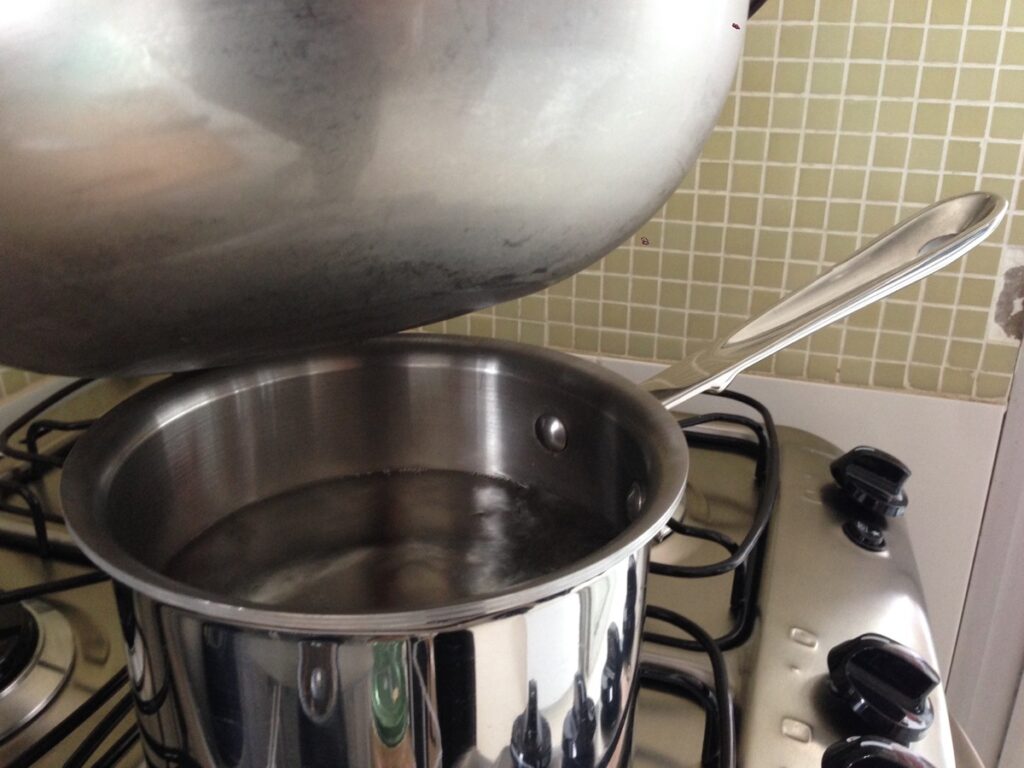
Or you can melt over steam, bain marie/baño maria. Place water in a pot that is smaller than your bowl, boil, turn off heat, then place the bowl over the pot.
In this case you should have a kitchen towel available. When you remove the bowl from the pot there will be a lot of steam/water under it. You want to avoid water getting in your chocolate, on your molds or marble table.
Whether with microwave or bain marie, the goal is to heat, while constantly stirring, to 45c (115f). I know people that use a heating pad in between 2 bowls, a crockpot, or place in an oven at 100c over night. If you go beyond 55c (131f), your chocolate should be fine. But if you go too much beyond that, say 65c, your chocolate might begin to develop granular bits and burn. So it is best to avoid going too far beyond the suggested temperatures. If you happen to see the granular bits, use an immersion blender to get rid of them.
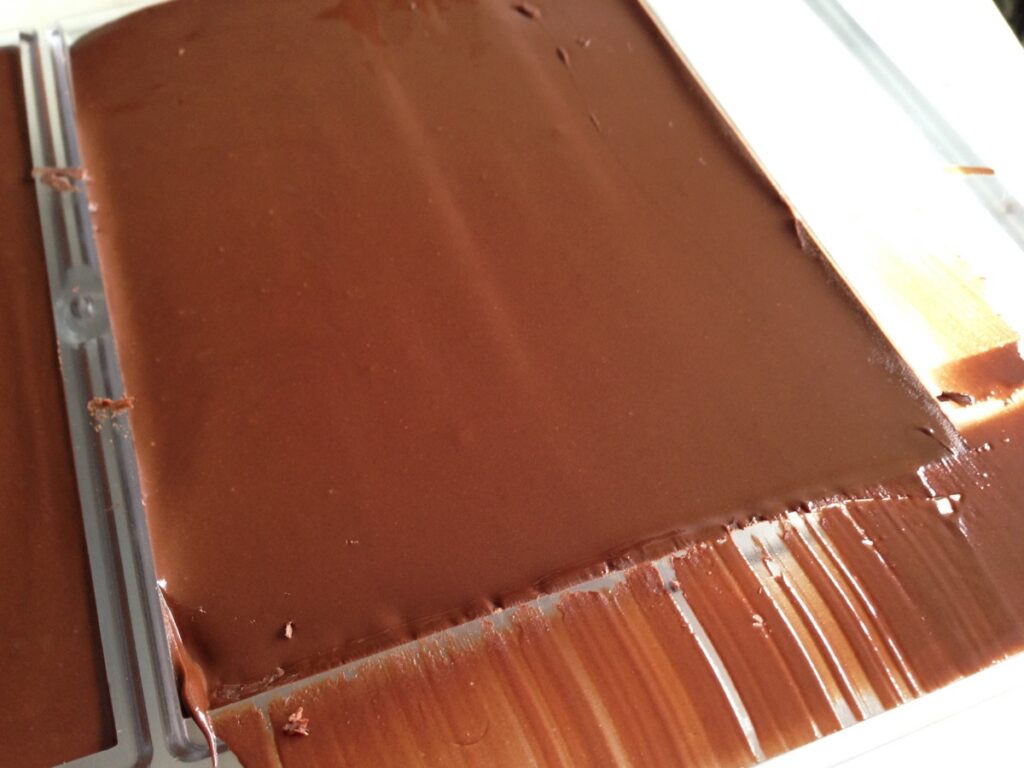
If the chocolate was previously tempered, I use some of the tempered chocolate now, I add a few pieces to help lower the temperature to about 40c (104f). I stir until all the tempered chocolate is melted. At this point I can continue to add previously tempered chocolate until the temperature reaches 29c (84f). Your chocolate should be tempered here. OR if I do not have any more tempered chocolate to add to the melted chocolate … I place all of it on a marble tabletop. It is ok if I leave a little bit in the bowl. With two spatulas, I move it around, spread it, bring it together and spread it again. Below is a video that shows how I move it around.
If you do not have a marble table, you could do this on a stainless steel table but the stainless steel absorbs heat quickly and it might take longer to cool the chocolate. You can also cool by placing some ice packs in a larger bowl then placing this bowl on it. This technique is the most difficult because the areas that have contact ice packs with the chocolate, will harden quickly. You need to mix really well to avoid this. Another trick is to stand next to your air conditioner and stir.
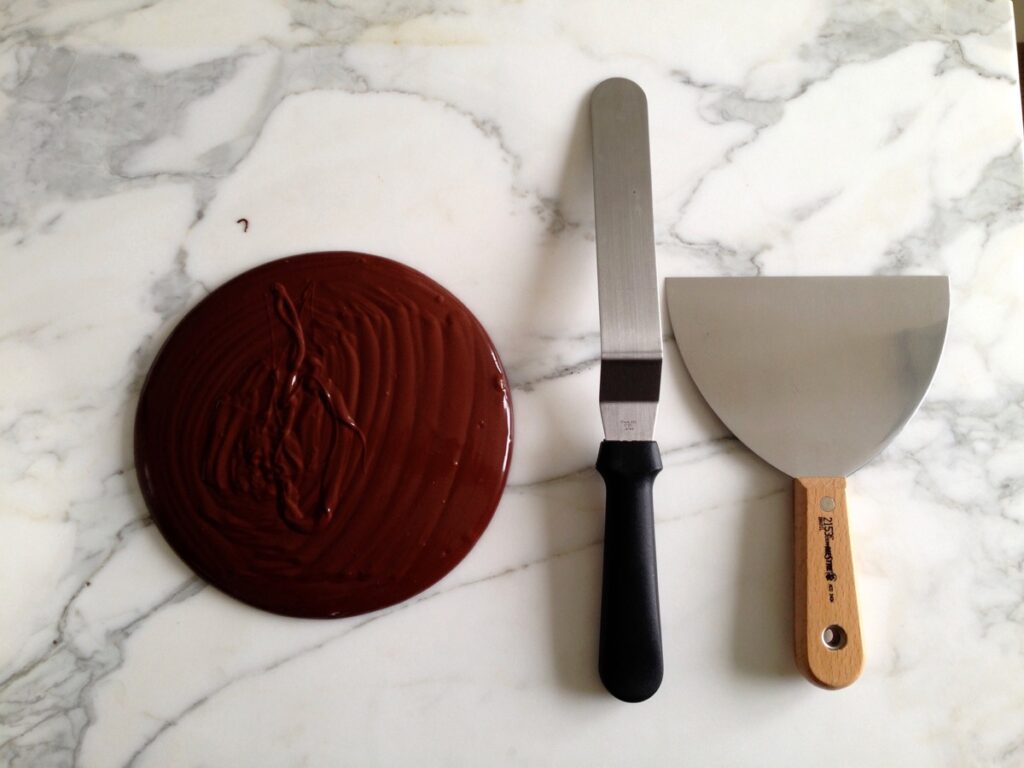
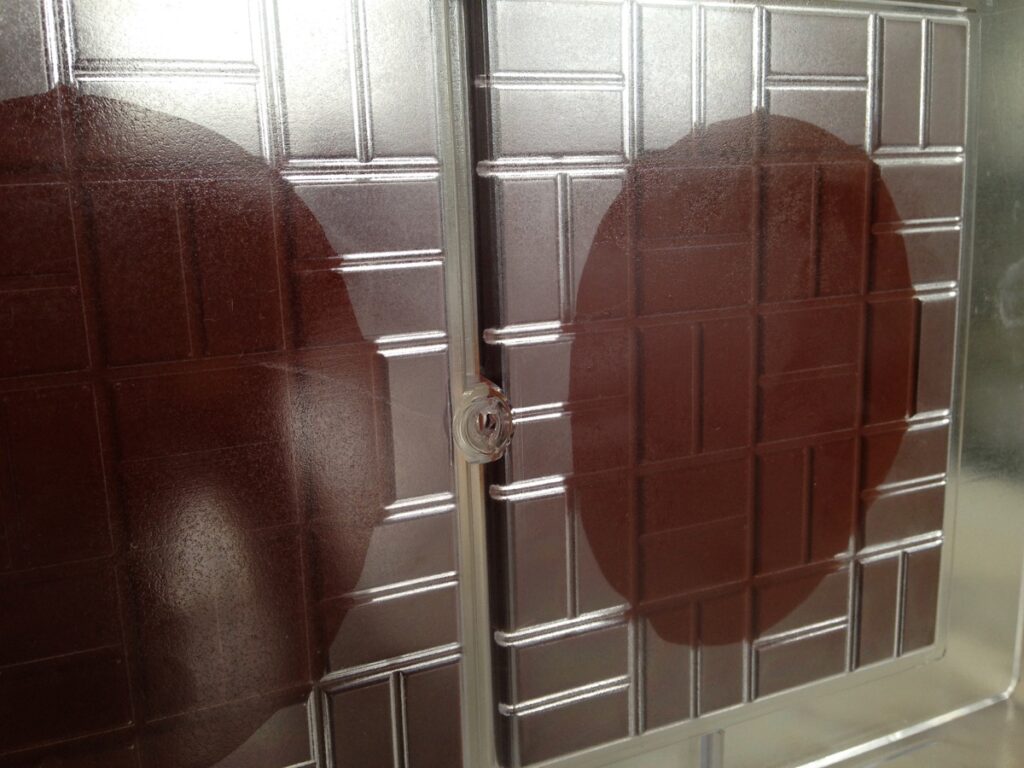
You cannot let it sit on the counter until is cools. Tempering correctly means the chocolate has to be mixed while cooling and it has to happen in a short window of time. Once it is 28c (84f), you can do a test, I usually put a piece of paper in it then put the paper in the fridge for 2 minutes. Here I placed some on my scraper.
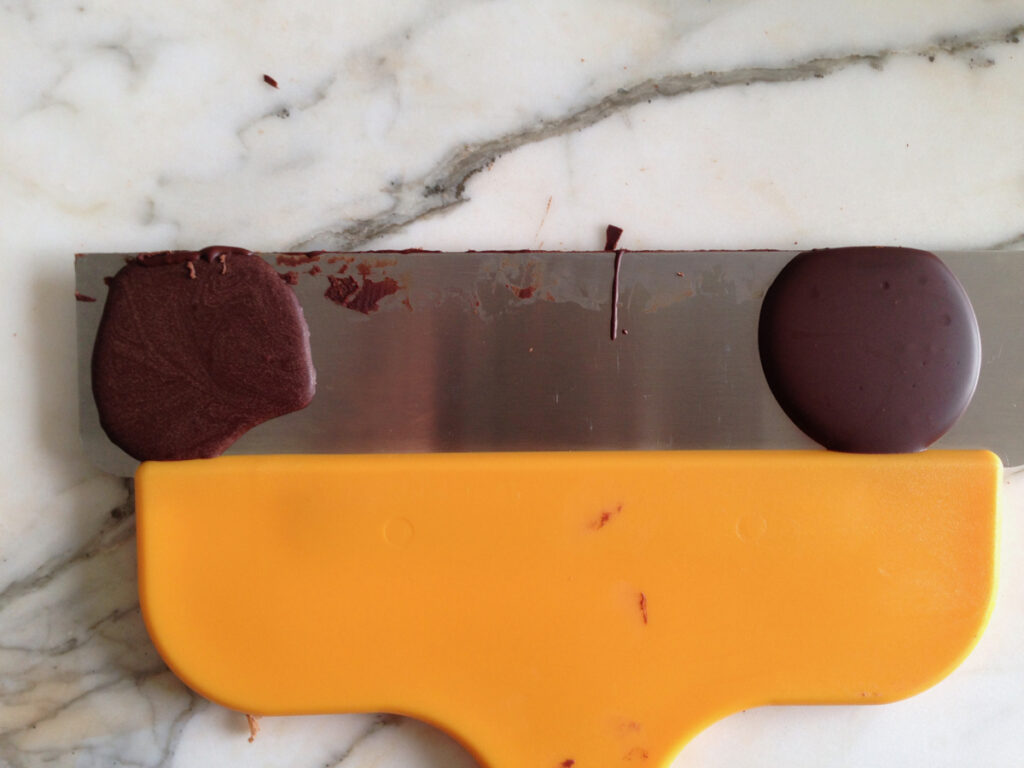
You can see the chocolate on the left is not in temper and the one on the right is in temper. For bean to bar chocolate the right side is ok to use. If your chocolate looks like the left, stir more and place over a bit of steam, let it reach to 31c (86f) and test again. Mastering tempering takes many attempts.
While I temper my chocolate, I heat my oven to 50c (120f) for 1 minute, turn off, then place my molds inside. When I test my temper, I remove the molds from the oven. The goal is for the molds to be the same temperature or a few degrees cooler than the chocolate. This will give me more time to distribute the chocolate into the mold. You can also use a hairdryer or heat gun to warm the molds but you must be careful not to overheat the molds because you will make your chocolate go out of temper when you pour into the mold. Be careful here as well, many times I have correctly tempered my chocolate but overheated my molds and all the chocolate sets well but turns white (blooms).
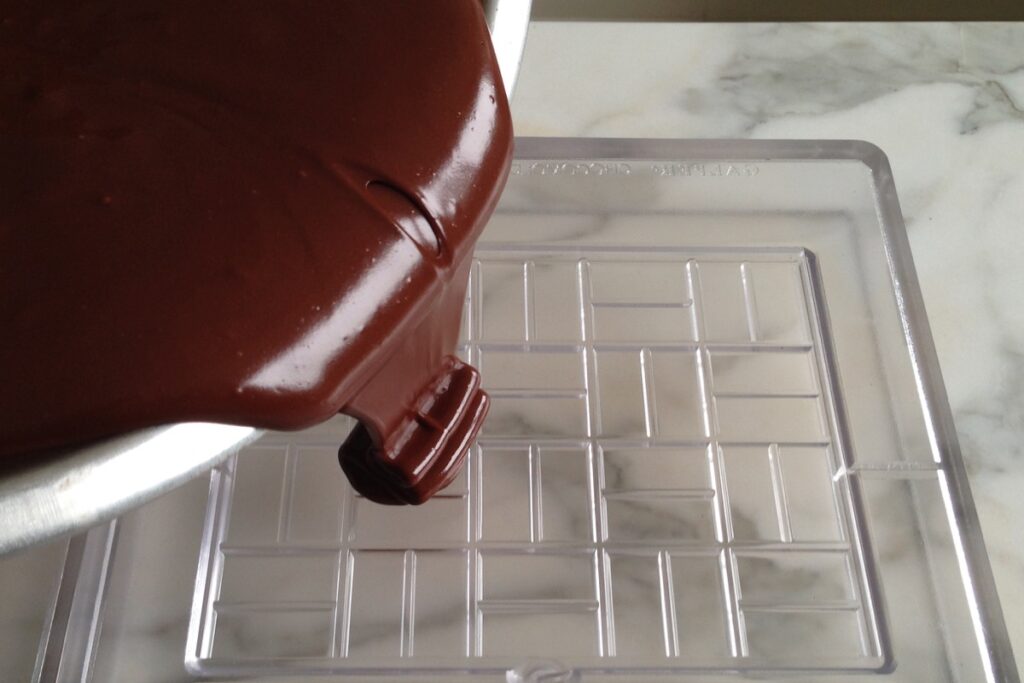
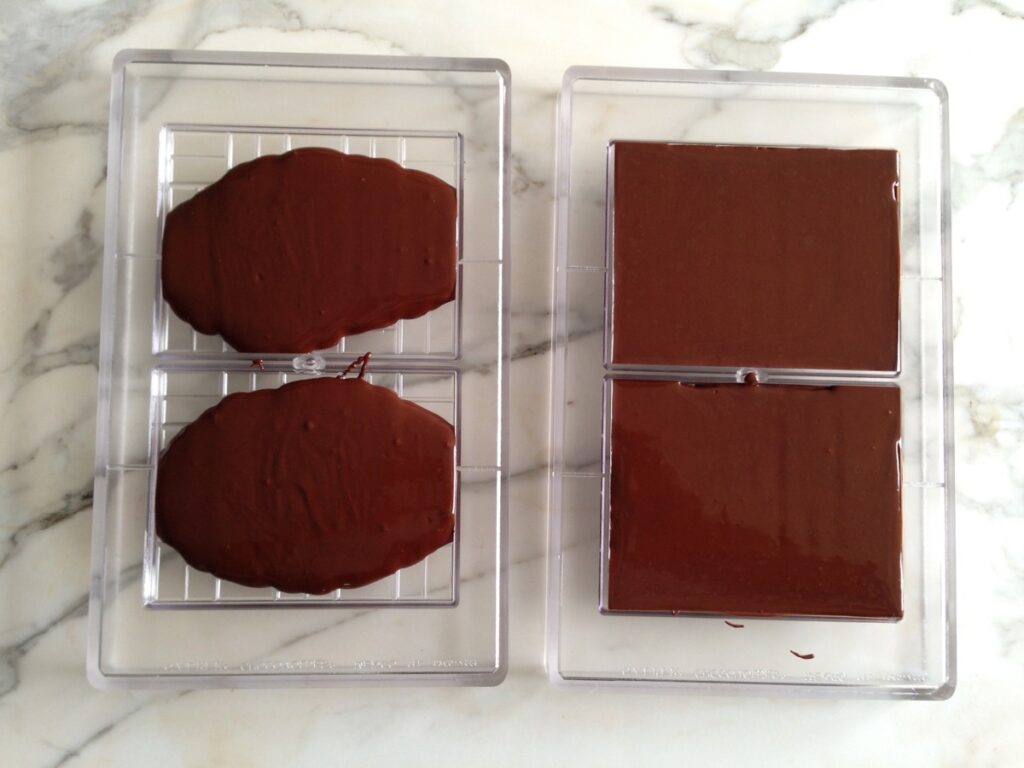
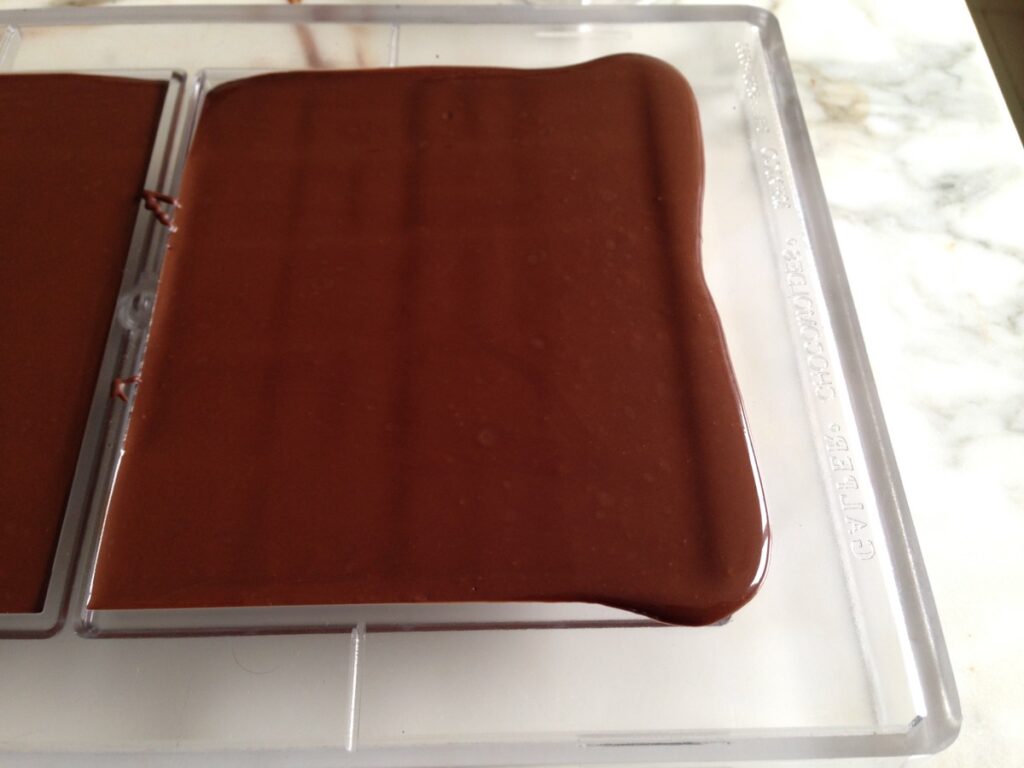
On the left is the chocolate newly poured and on the right is after I bang it loudly on the table. You will most likely not place the exact amount in each mold cavity. This is ok, you can remove the excess chocolate with your spatula. If you want to pour an exact amount, you can place the mold on a scale, tare it, then pour. You can use a syringe or pastry bag to fill your molds. I simply use a spatula.
Put it immediately in a refrigerator. Make sure that there are no strange odors because the chocolate will absorb them. Leave in the refrigerator 5-15 minutes. Below is my chocolate after 7 minutes. It is not ready to be removed from the fridge. (I know some people that just leave them in a “cold” room for about 45 minutes. It’s simply a room with the air conditioning on and maybe some fans). Never stack on top of each other, there should be air circulating both on the bottom and the top of the mold.
Below is my mold after 15 minutes. I remove it from the refrigerator and place in my cold room (20c).

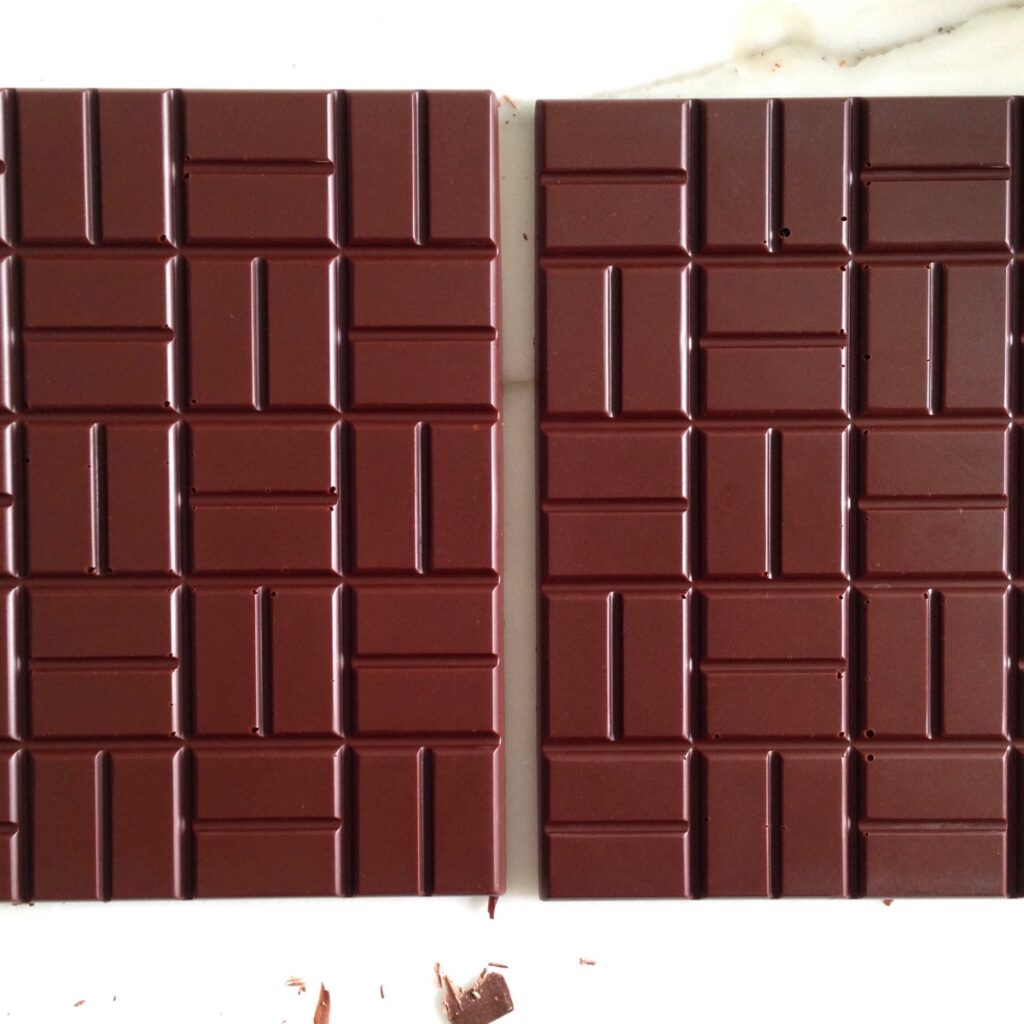
Once I am done with the entire batch, about 45 minutes later, I remove all of the bars form the molds and foil immediately. I get all my foil from Alufoil in the USA.
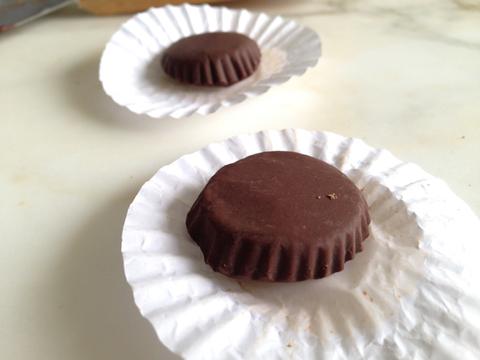
You can also create chocolate without having professional molds. Any plastic container or cupcake liner will make an adequate mold.
Chocolate in eternal temper is a myth. Even in a correct environment: cool, dry, dark room- the chocolate will eventually come out of temper. It it will start to turn white and the texture will begin to get hard or granular. If you tempered correctly it can take about 6 months to 5 years. If you tempered so-so, it could take a week. If it all goes out of temper it is not a big deal, you can re-temper.
I think chocolate tastes best immediately after tempering. But chocolate is edible years after tempering. The validity of chocolate depends on what you put in it. Only cacao and sugar is valid for a few years – I place 1 year validity on all my plain bars while other chocolate makers put 3 years. Note this is the validity after you temper and package, not of when you made the chocolate.
If you have any questions about tempering please feel free to email me. I have never met a person that succeeded at tempering on their first attempt. You have to keep trying and try different methods. Eventually you will get it.
__________________________________
The equipment referrals contain affiliate links to products I use for these recipes:


